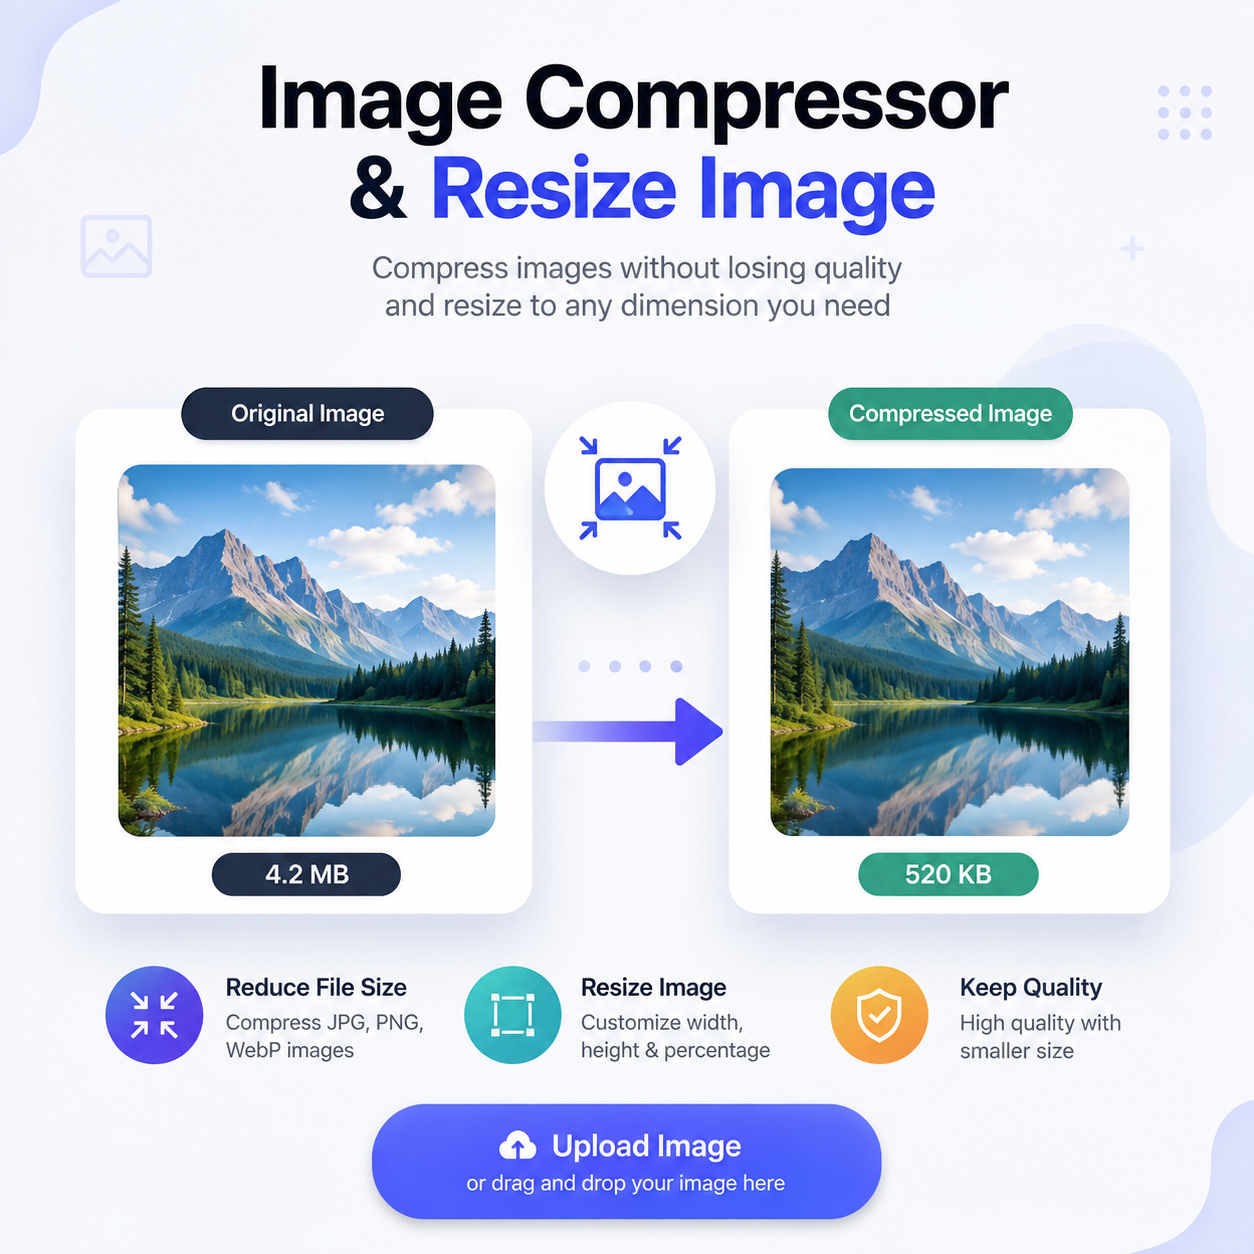
Image Quality Loss & Artifacts
Image Quality Loss & Artifacts: Fix Pixelated, Blurry, or Grainy Photos + Compression Guide
Nothing ruins a website, product listing, or printed memory faster than a low-quality image. Whether it’s a grainy night photo, a pixelated logo, a blurry scanned document, or a JPEG so heavily compressed it looks like a mosaic, image quality problems are universal. The good news? Most of these issues can be fixed—or avoided entirely—once you understand why they happen and which tools to use.
This guide covers the entire workflow: from diagnosing artifacts and pixelation to reducing file size for web uploads, resizing for specific dimensions, and increasing resolution with modern AI upscalers. You’ll find both free online tools and professional desktop software, plus clear decision frameworks for choosing the right format every time.
Understanding Why Images Degrade
Before fixing an image, you need to know what you’re dealing with. The three most common problems are pixelation, blur, and noise/grain.
Pixelation occurs when you enlarge a low-resolution raster image beyond its original pixel count. The software must guess what the missing pixels look like, resulting in visible square blocks. This is especially common with images downloaded from the web or old digital cameras.
Blur is a loss of sharp edge definition. It can come from camera shake, out-of-focus capture, or aggressive down sampling followed by upscaling. Blurry text in scanned documents is a frequent complaint.
Grain/noise is random speckling, usually from high ISO in low light or excessive sharpening in editing software.
At the core of many problems is compression. There are two types:
Lossy compression (JPEG, WebP lossy) permanently discards visual data to shrink file size. The more aggressive the compression, the more artifacts appear—blocky areas, ringing around edges, and color banding. Re-saving a JPEG multiple times compounds this, a phenomenon called generation loss.
Lossless compression (PNG, WebP lossless, TIFF) reduces file size without throwing away any information. However, lossless files are larger.
Understanding the difference helps you make smarter decisions before exporting.
JPEG vs PNG vs WebP: Choosing the Right Format
The format you choose has the biggest impact on quality and file size. Here is a breakdown of the most common formats, their attributes, and when to use them.
JPEG (Joint Photographic Experts Group)
Compression type: Lossy.
Transparency: Not supported.
Best for: Photographs, complex gradients, web images where small file size matters.
File size: Small.
Key attributes: 8-bit color, 4:2:0 chroma subsampling (reduces color detail to save space). Saving at quality 80–90% yields visually lossless results for photos.
Avoid using for: Graphics with sharp edges, text, or logos—JPEG introduces visible artifacts around high-contrast areas.
PNG (Portable Network Graphics)
Compression type: Lossless.
Transparency: Full alpha channel.
Best for: Logos, screenshots, text-heavy graphics, anything needing a transparent background.
File size: Large (often 5–10× larger than JPEG for photos).
Key attributes: Supports 24-bit color and indexed color (PNG-8). Compression does not degrade quality, so re-saving is safe.
Note: “Is PNG lossless?” Yes, completely. No data is lost during saving.
WebP
Compression type: Both lossy and lossless.
Transparency: Yes (alpha channel).
Best for: Modern web images; nearly always smaller than JPEG or PNG at the same quality.
File size: Very small.
Key attributes: Developed by Google, supported in all modern browsers. Offers roughly 30% smaller files than JPEG at equivalent visual quality.
Consideration: Some older software (e.g., older versions of Photoshop) cannot open WebP natively.
TIFF (Tagged Image File Format)
Compression type: Lossless or none.
Transparency: Yes.
Best for: Archival, print production, professional editing master files.
File size: Very large.
Key attributes: Supports high bit depths, layers, and color profiles. Ideal for storing originals before final export.
RAW
Compression type: None (or lossless in some cameras).
Transparency: No.
Best for: Original camera files; maximum editing latitude.
File size: Huge.
Key attributes: Contains unprocessed sensor data. You must convert to a standard format to share or print.
Quick answers to common format questions:
What is JPEG? A lossy compression format ideal for photographs. It discards some data to save space, so avoid using it for graphics with sharp edges or text.
What is PNG? A lossless raster format supporting full alpha transparency. Best for logos, icons, and screenshots where crisp edges are non-negotiable.
What is WebP? Google’s modern format that supports both lossy and lossless compression, transparency, and animation. It offers roughly 30% smaller files than JPEG at equivalent visual quality.
What is the highest quality image format? For editing and archival, TIFF or RAW. For web delivery with lossless quality, PNG. For the best balance of quality and small size, WebP.
When you convert image to picture formats, always consider the end use. Converting PNG to JPEG will lose transparency and possibly introduce artifacts. Converting JPEG to PNG will not restore lost quality; it will only prevent further loss.
How to Fix Pixelated and Blurry Photos
Whether you’re dealing with an old digital photo, a low-quality meme, or a scanned document with blurry words, the workflow is similar: upscale, denoise, sharpen.
Step 1: Upscale with AI (DE pixelate Image)
Traditional resizing just stretches existing pixels, making things blurrier. AI upscalers use machine learning to predict and synthesize new detail. The best options today:
Adobe Photoshop: Open the image in Camera Raw (or use
Filter > Camera Raw Filter), right-click the image, choose Enhance, check Super Resolution. This doubles the pixel dimensions with impressive sharpness.Topaz Gigapixel AI: A dedicated desktop app that excels at upscaling extremely low-res images, removing JPEG artifacts, and fixing faces.
Free online AI upscalers: Tools like Let’s Enhance, Upscale.media, or Big jpg work in a browser, but often have resolution limits or watermarks on free tiers.
Step 2: Reduce Noise (Fix Grainy Photos)
If your photo has heavy grain, apply noise reduction before sharpening.
In Photoshop:
Filter > Noise > Reduce Noise. Set strength to 20–40, preserve details around 10–20, and reduce color noise to 50% or more.In Lightroom: Go to the Detail panel, increase Luminance slider to 20–50, then adjust Detail and Contrast to retain edge definition.
On phones: Use Snapseed’s Details tool, lowering Structure and slightly increasing Sharpening.
Step 3: Sharpen Selectively
After upscaling and denoising, apply a gentle sharpen. Avoid global “Sharpen More” filters—they create halos. Use Unsharp Mask (Amount 50–100%, Radius 0.5–1.5 px, Threshold 0–3) or Smart Sharpen with lens blur removal.
Important caution: AI upscalers cannot recreate true detail that wasn’t captured. They synthesize plausible textures, which is fine for web or small prints, but they won’t turn a 100px thumbnail into a billboard. Always keep expectations realistic.
How to fix blurry words specifically: If text is unreadable, run OCR (Optical Character Recognition) after sharpening, or re-render the text if you have the original source. If it’s a scanned document, use a dedicated document enhancement tool like Adobe Scan or Microsoft Lens, which automatically straighten and sharpen text.
How to Reduce Image File Size (KB) Without Sacrificing Quality
Whether you need to reduce JPEG file size in KB for an email attachment, upload limit, or web performance, the principles are the same: optimize dimensions, adjust compression quality, and consider modern formats.
Step 1: Determine the actual display size needed.
If an image will only appear at 800px wide on a website, don’t upload a 4000px original. Resize first. Use any photo editor or online tool to set the exact pixel dimensions. This alone can cut file size by 80% or more.
Step 2: Choose the right compression level.
For JPEG, the quality slider is your main lever. The sweet spot is usually between 70% and 85%.
Quality 100%: visually lossless but huge file.
Quality 80%: near-identical to the eye, 50–70% smaller file.
Quality 60%: acceptable for thumbnails or casual social media, minor artifacts visible.
Quality 30%: severe blockings, only for intentional low-quality memes.
Step 3: Use a smart compression tool.
Free online options:
Squoosh.app (Google): Compare formats side by side, adjust quality slider with live preview, download optimized WebP, JPEG, PNG, or AVIF.
TinyPNG / TinyJPG: Simple drag-and-drop, excellent for reducing PNG and JPEG size without visible loss. Great for transparent PNGs.
Compressor.io: Supports up to 10MB files, offers lossy and lossless modes.
For bulk image compression (e.g., 500 product photos), use:
Desktop: FileOptimizer (Windows), ImageOptim (Mac), JPEGmini.
Command line: ImageMagick or
cwebpfor scripting.WordPress plugins: ShortPixel, Smush, Imagify. These automatically compress and resize uploaded images.
How to compress PNG without losing transparency: Use TinyPNG or Squoosh. These tools apply indexed color and lossless compression to shrink PNGs while preserving the alpha channel. If your PNG is a photograph, convert it to WebP lossy for massive savings with no visible quality drop.
Example workflow to hit a specific KB target:
Original photo 3000×2000, 4MB JPEG. Goal: under 100KB for a forum avatar.
Resize to 500×333 (fits standard avatar sizes).
In Squoosh, set format to WebP (lossy) or JPEG, quality 70%.
Adjust quality slider until output shows ~95KB.
Download and verify it looks sharp at display size.
How to Resize Images Correctly (iPhone, Photoshop, Online)
Resizing changes pixel dimensions. Down sampling (making smaller) is generally safe; up sampling (making larger) reduces sharpness unless using AI.
On iPhone:
Open the Photos app and select the image.
Tap Edit, then the crop/rotate icon at the bottom.
Tap the aspect ratio button (top right) to choose a preset like Square, 4:3, or Freeform.
Drag corners to crop, or pinch to zoom.
Tap Done. The photo saves as the new dimensions.
For exact pixel control, use a free app like Image Size or mail the photo to yourself and choose a smaller size when prompted.
In Photoshop:
Image > Image Size.Check Resample if you want to change pixel dimensions. Choose Bicubic Smoother for enlargement, Bicubic Sharper for reduction.
Uncheck Resample if you only want to change print size (DPI) without altering pixels.
For a specific size like 72×72 px (common for older forum avatars or app icons), enter those values with Resample checked.
Online: Canva, PicResize, or ResizeImage.net let you set exact dimensions without installing software.
Important: Always save a copy. Resizing overwrites the original pixel data.
Increasing Image Resolution: From Low to High
What are high resolution images? For print, 300 DPI (dots per inch) at the final print size is standard. For web, DPI doesn’t matter—only pixel dimensions do. A 1200px wide image is high-res for a full-width web banner, but low-res for a 4×6 inch print at 300 DPI (which needs 1800×1200 px).
To increase a resolution of an image without blur, you need AI. The process:
Try reverse image search first. If you have a small thumbnail, use Google Lens or Tin Eye to find the original larger version. This is the only way to get true detail back. Be mindful of copyright when using found images.
If no original exists, use AI upscaling. As described earlier, Photoshop Super Resolution (free with subscription) or Topaz Gigapixel (paid, ~$99 one-time) are the best. For free online, try Upscale.media or Waifu2x (good for anime/line art).
Adjust color and contrast after upscaling. AI sometimes introduces flatness; a slight S-curve in Curves helps restore pop.
Can I convert a low-res JPEG to high-res just by changing DPI? No. Changing DPI in metadata without resampling just reinterprets the physical print size; it does not add pixels. You must resample, ideally with AI.
Censoring and Privacy: Blur, Pixelate, Redact
When you need to censor image content—license plates, faces, passwords—use methods that cannot be reversed. Simple blur or pixelation can sometimes be undone with AI deconvolution, especially if the original is high-res.
Safest options:
Solid black or white box over the area. Irreversible and simple.
Mosaic with large block size (pixelate to 20+ px blocks). Harder to reverse than fine pixelation.
In Photoshop: Use
Filter > Pixelate > Mosaicwith cell size ≥20, or simply draw a rectangle and fill with black.Online: Facepixelizer or Redacted.app are quick for one-off needs.
Always double-check that the censored output is a flattened image (not layers) before sharing.
Professional Workflows for Businesses
For e-commerce managers, web developers, or agencies handling hundreds of images, manual processing is impractical.
Bulk product photo optimization:
Automate with scripts: ImageMagick (free) can resize, compress, and convert formats in a batch. Example command:
mogrify -resize 1200x1200 -quality 80 -format jpg *.pngUse a SaaS tool: Squoosh’s CLI (Node.js), Kraken.io API, or Cloudinary’s automatic optimization (resizes and serves WebP/AVIF dynamically).
WordPress: Install ShortPixel or Imagify. They compress on upload and can serve WebP versions. Pair with a lazy-loading plugin.
Quality control: Spot-check a random sample after batch compression. Look for artifacts on high-contrast edges or text.
Accessibility note: Even compressed images need descriptive alt text. Never sacrifice readability for a few KB—Google’s Core Web Vitals reward fast images, but users with screen readers and slow connections benefit from both quality and clarity.
When to Hire a Professional (Local Services)
Some jobs require expert hands. If you have a damaged physical photograph, a legally sensitive image, or need high-end restoration for print, consider a local service.
Search for “photo editing service near me” or “image restoration service in [your city]”. Typical pricing:
Basic photo retouching: $20–$50 per image.
Complex restoration (tears, heavy fading): $50–$100+ per image.
Passport photo resizing and printing: $10–$20 for a set (same-day available at many print shops like FedEx Office or local photo labs).
Bulk product photo compression for e-commerce: $0.10–$1.00 per image depending on volume and complexity.
When vetting a provider, ask for before/after portfolios, software expertise (Photoshop, Topaz), turnaround time, and their data privacy policy. For ongoing business needs, a freelancer on Fiverr or Upwork can handle bulk editing, but ensure they understand your brand guidelines.
Common Mistakes to Avoid
Re-saving JPEGs repeatedly. Every save adds artifacts. Always keep a master file in PNG, TIFF, or PSD. Export to JPEG only once at the end.
Over-sharpening to fix blur. This creates white halos and false textures. Use AI upscaling first, then a light sharpen.
Using PNG for large photos. A photograph saved as PNG will be 5–10× larger than JPEG with zero visual benefit. Convert to WebP or JPEG.
Ignoring display dimensions. Uploading a 6000px image for a 300px thumbnail wastes bandwidth and slows page load. Resize first.
Trusting “free” online compressors with sensitive images. Some services store your uploads. For confidential documents, use offline tools like Squoosh (runs in browser only, no server upload) or desktop software.
Trying to “enhance” like CSI. You cannot recover missing detail from a blurry photo. AI can make it look better, but it’s synthesizing, not recovering.
Top Free and Paid Tools Compared
Here is a curated list of tools grouped by type, along with their best use cases and pricing.
Online Compression & Conversion Tools
Squoosh (Google) – Best for quick compression, format conversion, and comparing quality side by side. Free, runs entirely in your browser.
TinyPNG / TinyJPG – Best for compressing PNG/JPEG while preserving transparency. Free for up to 20 files per batch.
Compressor.io – Good general-purpose compressor with lossy and lossless modes. Free up to 10MB per file.
Professional Desktop Software
Adobe Photoshop – Industry standard for editing, AI Super Resolution, batch actions. Subscription $22.99/month.
Adobe Lightroom – Excellent for noise reduction, color correction, and batch export. $9.99/month (Photography plan).
Topaz Gigapixel AI – Best-in-class AI upscaling and artifact removal. One-time fee of $99.99.
GIMP – Free Photoshop alternative with batch processing via Script-Fu. Free.
Dedicated Compression Software
ImageOptim (Mac) – Lossless compression and bulk optimization. Free.
FileOptimizer (Windows) – Lossless compression for multiple formats. Free.
JPEGmini – Reduces JPEG size without changing resolution or quality. Paid, but offers trial.
Web-Based Design Tools
Canva Pro – Social media resizing, basic editing, and export in multiple formats. $12.99/month.
Upscale.media – Free AI upscaling up to 4x. Free with limitations.
Command-Line / Developer Tools
ImageMagick – Scriptable image manipulation for batch processing. Free, open source.
cwebp – Google’s command-line tool for creating WebP images. Free.
Frequently Asked Questions
How do I fix a grainy photo on my phone?
Open the photo in Snapseed or Google Photos. Tap the edit icon, go to Details or Denoise, and increase the noise reduction slider slightly. Avoid maxing it out—this creates a plastic, waxy look. For severe grain, use an app with AI denoising like Adobe Lightroom mobile.
Why does my JPEG look blurry?
Usually because it was saved with high compression (low quality setting) or upscaled from a small source. Compression discards fine detail, causing soft edges. If the image was originally sharp but appears blurry on a website, check if the display size exceeds the image’s native resolution.
Is PNG better than JPEG?
It depends. PNG is better for graphics, logos, screenshots, and anything with text or transparency because it is lossless and keeps edges crisp. JPEG is better for photographs where a small quality trade-off is acceptable for much smaller file sizes. For web photos, WebP is often better than both.
How do I compress an image to 50KB?
Use Squoosh or TinyPNG. Upload the image, reduce the pixel dimensions (e.g., width to 600px), then lower the JPEG or WebP quality slider until the output size shows ~50KB. Download and verify there are no severe artifacts. If quality suffers, try converting to WebP lossless or reduce dimensions further.
Can AI fix pixelated images?
Yes, modern AI upscalers like Photoshop Super Resolution, Topaz Gigapixel, and free online tools can dramatically improve pixelated images by synthesizing new detail. However, they cannot restore original information that was never captured; results are plausible but not factual. For severely damaged images, a combination of AI upscaling and manual retouching works best.
What is the highest quality image format?
For editing and archiving, TIFF (uncompressed) or RAW (sensor data) offer the most data. For web delivery, PNG is the highest quality lossless format. For practical use with small file size, WebP lossless or high-quality WebP lossy is the best compromise.
Does resizing an image reduce quality?
Making an image smaller (downsampling) reduces pixel count but does not usually cause visible quality loss at the new display size. Making it larger (upsampling) without AI will reduce sharpness because software must interpolate missing pixels. Always work from the highest resolution original available.
How to fix blurry words in a scanned document?
Scan the document at 300 DPI or higher. Use Adobe Scan (mobile) or a desktop scanner. After scanning, apply an Unsharp Mask filter (Amount 150–200%, Radius 1–2 px, Threshold 2–5) in any photo editor. For extreme blur, run OCR to extract text and retype it in a word processor.
What is lossless compression?
Lossless compression reduces file size without discarding any visual data. The original can be perfectly reconstructed from the compressed file. PNG, WebP lossless, and TIFF use lossless compression. It is ideal for images with text, line art, or transparency, but results in larger files than lossy formats.
How to censor part of an image before sharing?
Use a solid black rectangle over the sensitive area—this is the only guaranteed irreversible method. If you must use pixelation, set block size to at least 20 pixels. In Photoshop, draw a black rectangle or use Filter > Pixelate > Mosaic with high cell size. Always flatten the image before exporting.
Conclusion: Your Image Quality Action Plan
Image quality loss is not an unsolvable mystery. It’s a predictable result of format choice, compression settings, and resizing methods. By following the frameworks in this guide, you can:
Diagnose whether your image suffers from pixelation, blur, grain, or compression artifacts.
Choose the right format: WebP for web photos, PNG for graphics, JPEG for email and simple sharing.
Fix problems with AI upscaling, noise reduction, and selective sharpening.
Optimize file size with smart compression tools, targeting specific KB limits without visible loss.
Resize correctly using the right resampling methods, whether on iPhone, Photoshop, or online.
Know when to hire a pro for restoration or bulk business needs.
Start by applying these steps to one image that has been bothering you. Experience the difference between a blurred, artifact-riddled upload and a crisp, fast-loading, professional result. Then integrate these practices into your regular workflow—whether you’re a social media manager, e-commerce owner, photographer, or just someone who wants their memories to look their best.
More guides
guide
How Many Pages Is X Words? Complete Conversion Hub
How many pages is X words? Get the complete word-to-page conversion hub with charts, formulas, and links to every word count guide. Expert tips inside.
guide
How Many Pages Is 750 Words? Single & Double Spaced Guide
How many pages is 750 words? Get exact page counts for single-spaced, double-spaced, APA, MLA, and more. Includes a quick conversion chart and expert tips.
guide
Meters to Feet:Complete Guide
Convert meters to feet instantly. Get the exact formula, a full conversion chart, real-world examples, and answers to common m-to-ft questions.
guide
Miles to Kilometers: The Complete Conversion Guide
Miles to Kilometers: The Complete Conversion Guide